menu
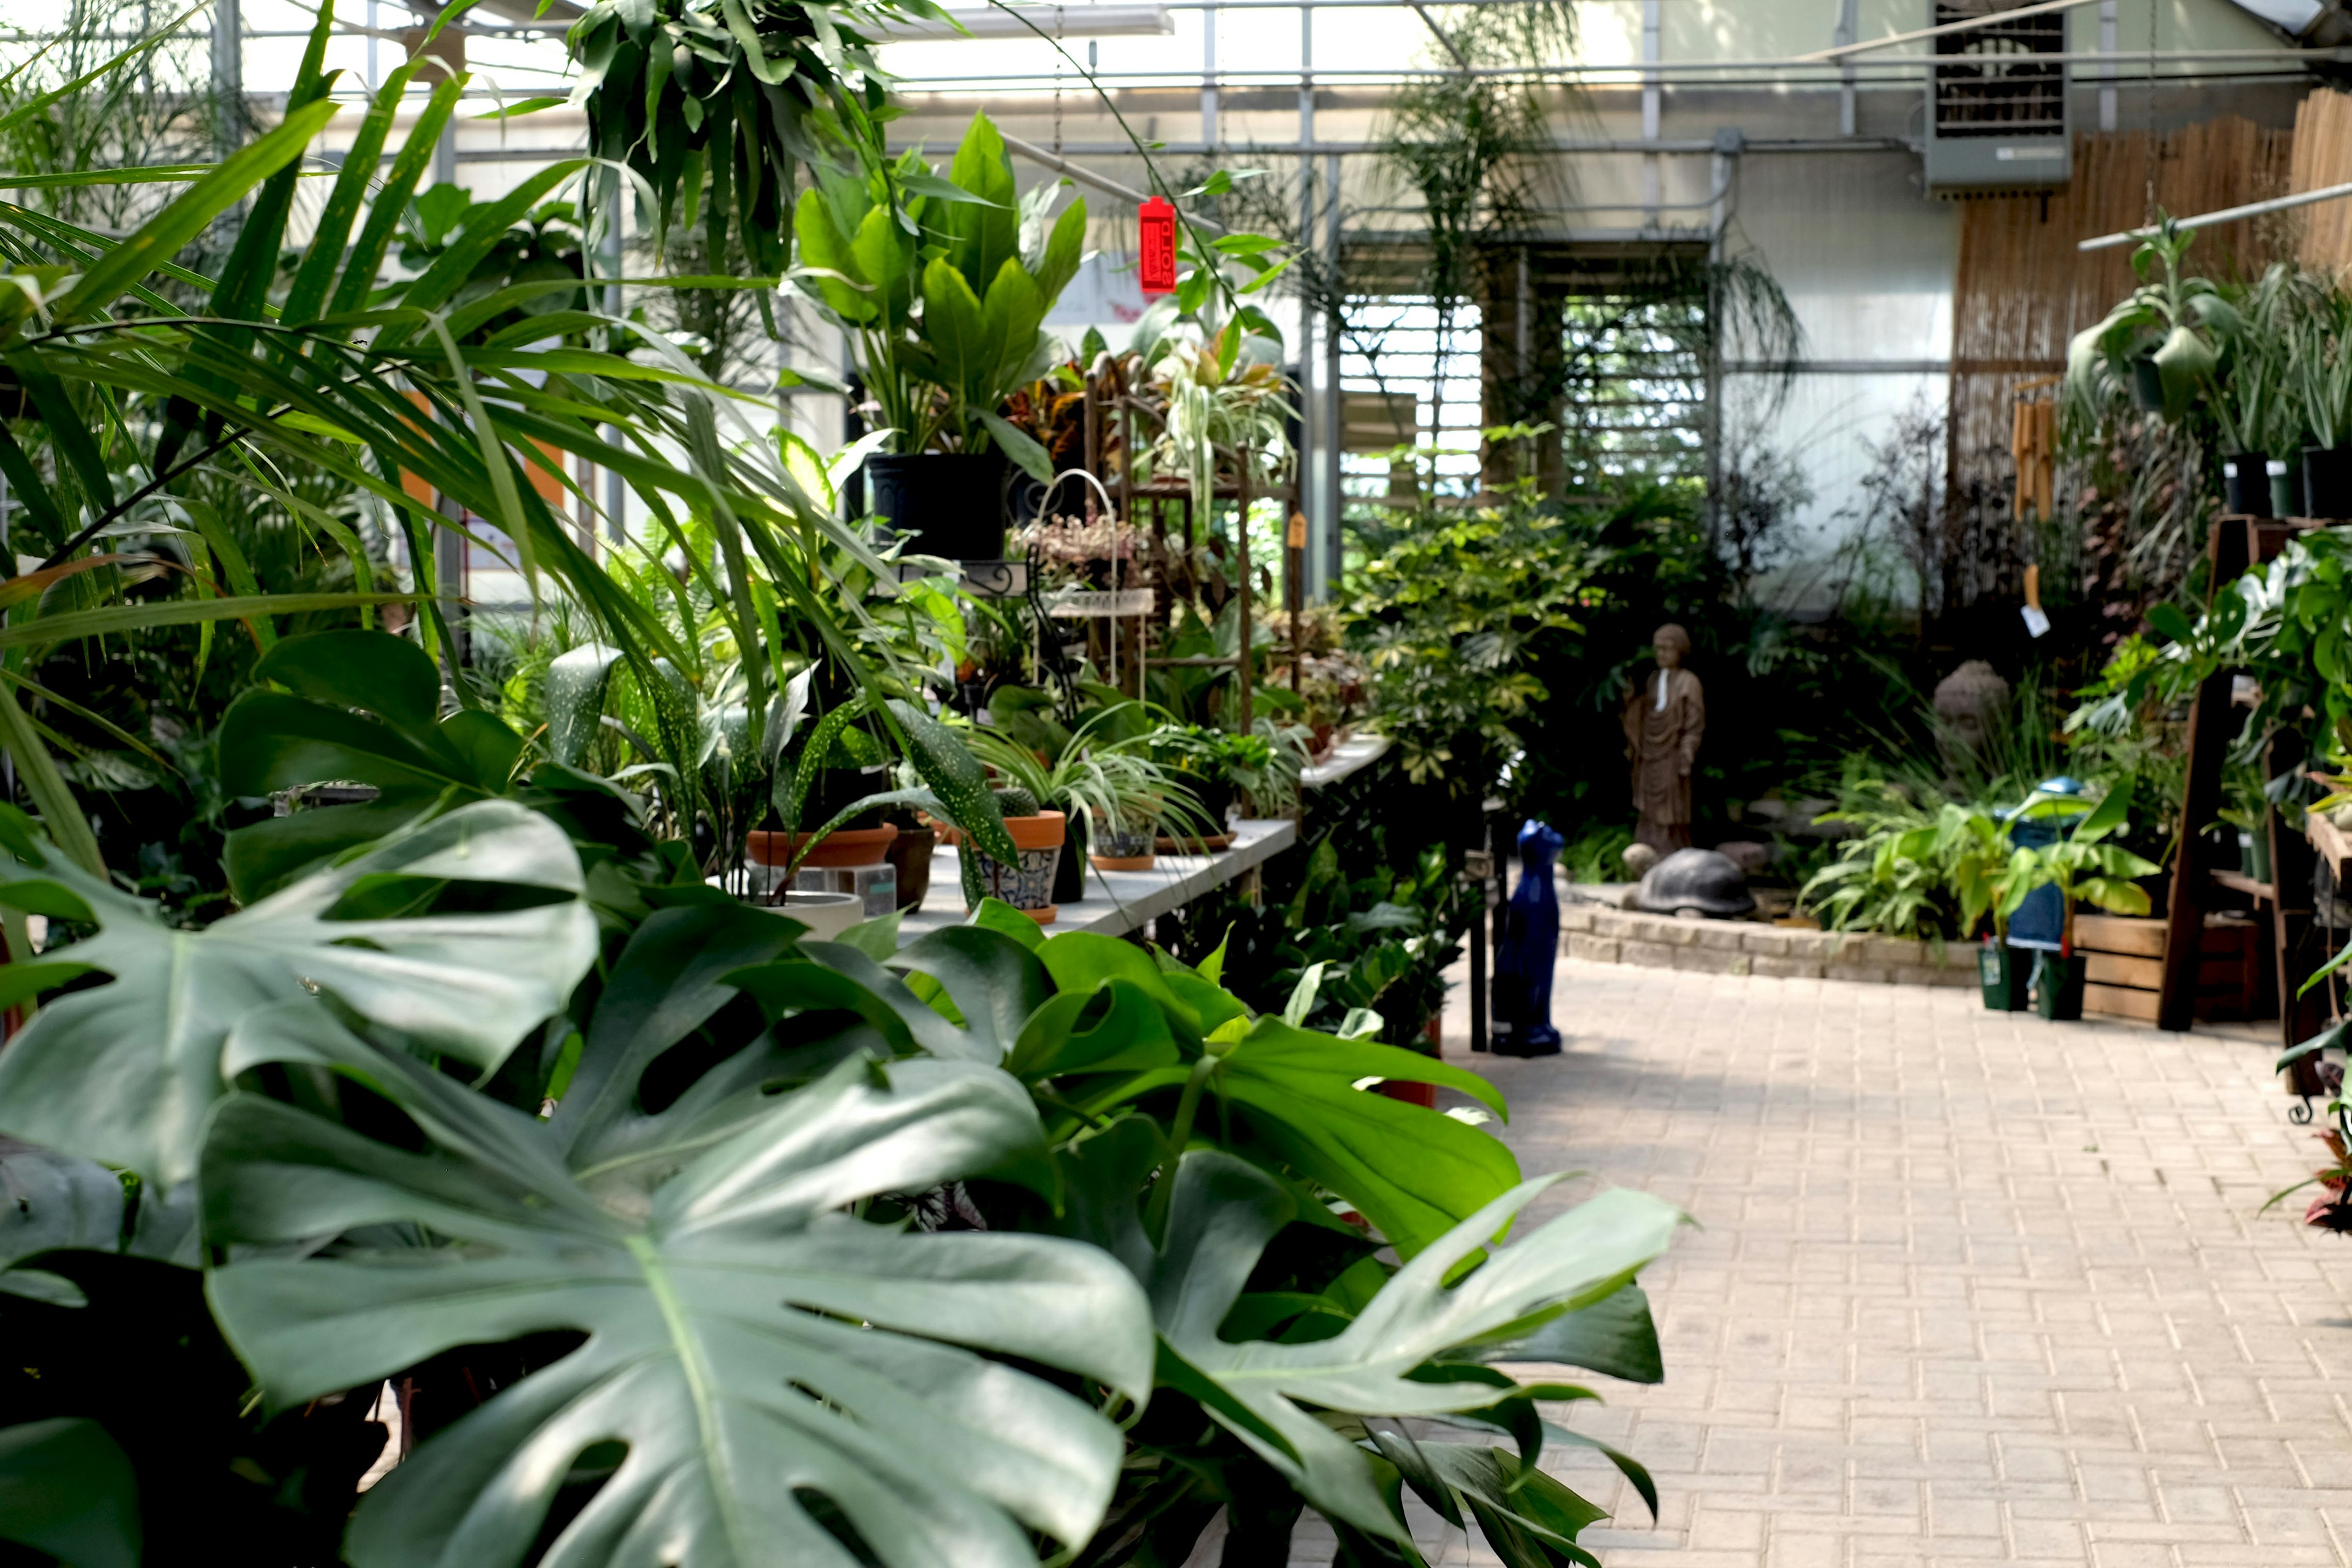

Garden Center
Houseplant Maintenance: When and Why to Re-pot Houseplants
This article in our Houseplant Maintenance series covers a few of the main reasons you may need to repot a houseplant, when the best time of year is to do so, and tips for success from Green View staff!

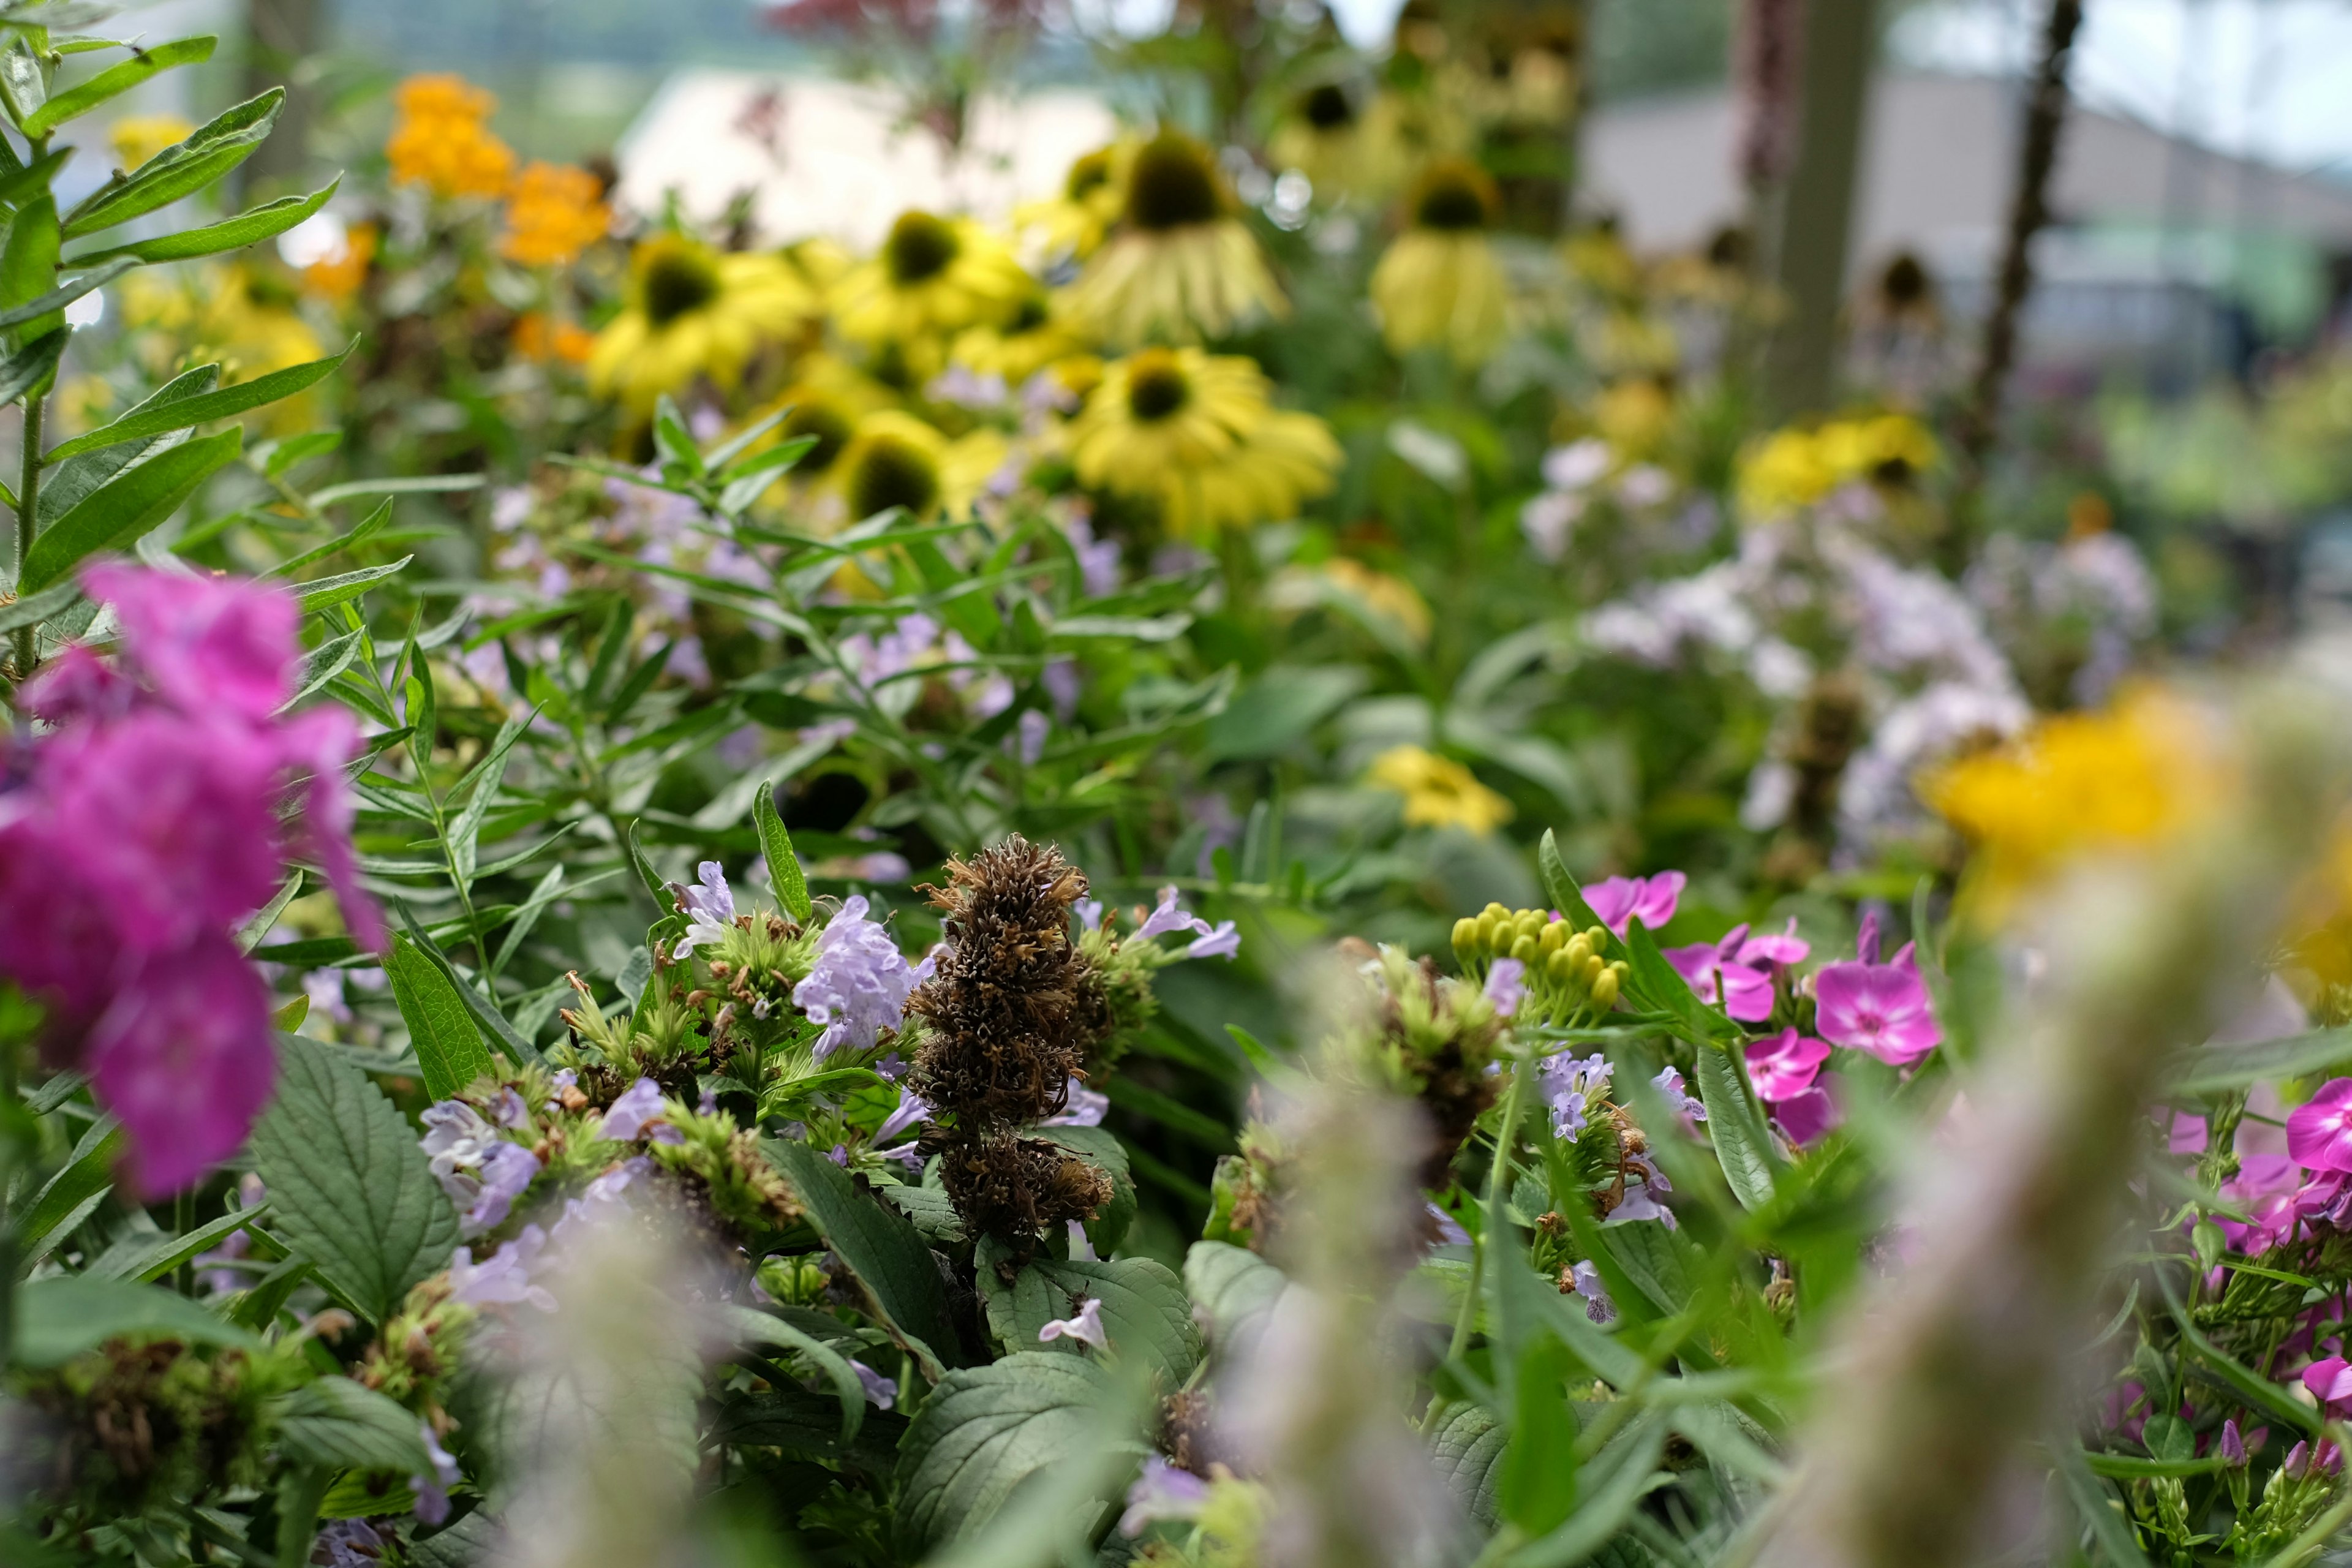
Happy Houseplant Appreciation Day!
With Houseplant Appreciation Day having taken place this week, on January 10th, we figured a houseplant-themed post would help liven up these dreary January days! Whether you've got a single plant adorning your windowsill or dozens (and dozens and dozens...) it's crucial that you keep tabs on how comfortable your plants are in their pots. Root-bound, or "pot-bound" plants can drop leaves, produce stunted foliage, and grow noticeably slowly when left in an undersized pot for too long.
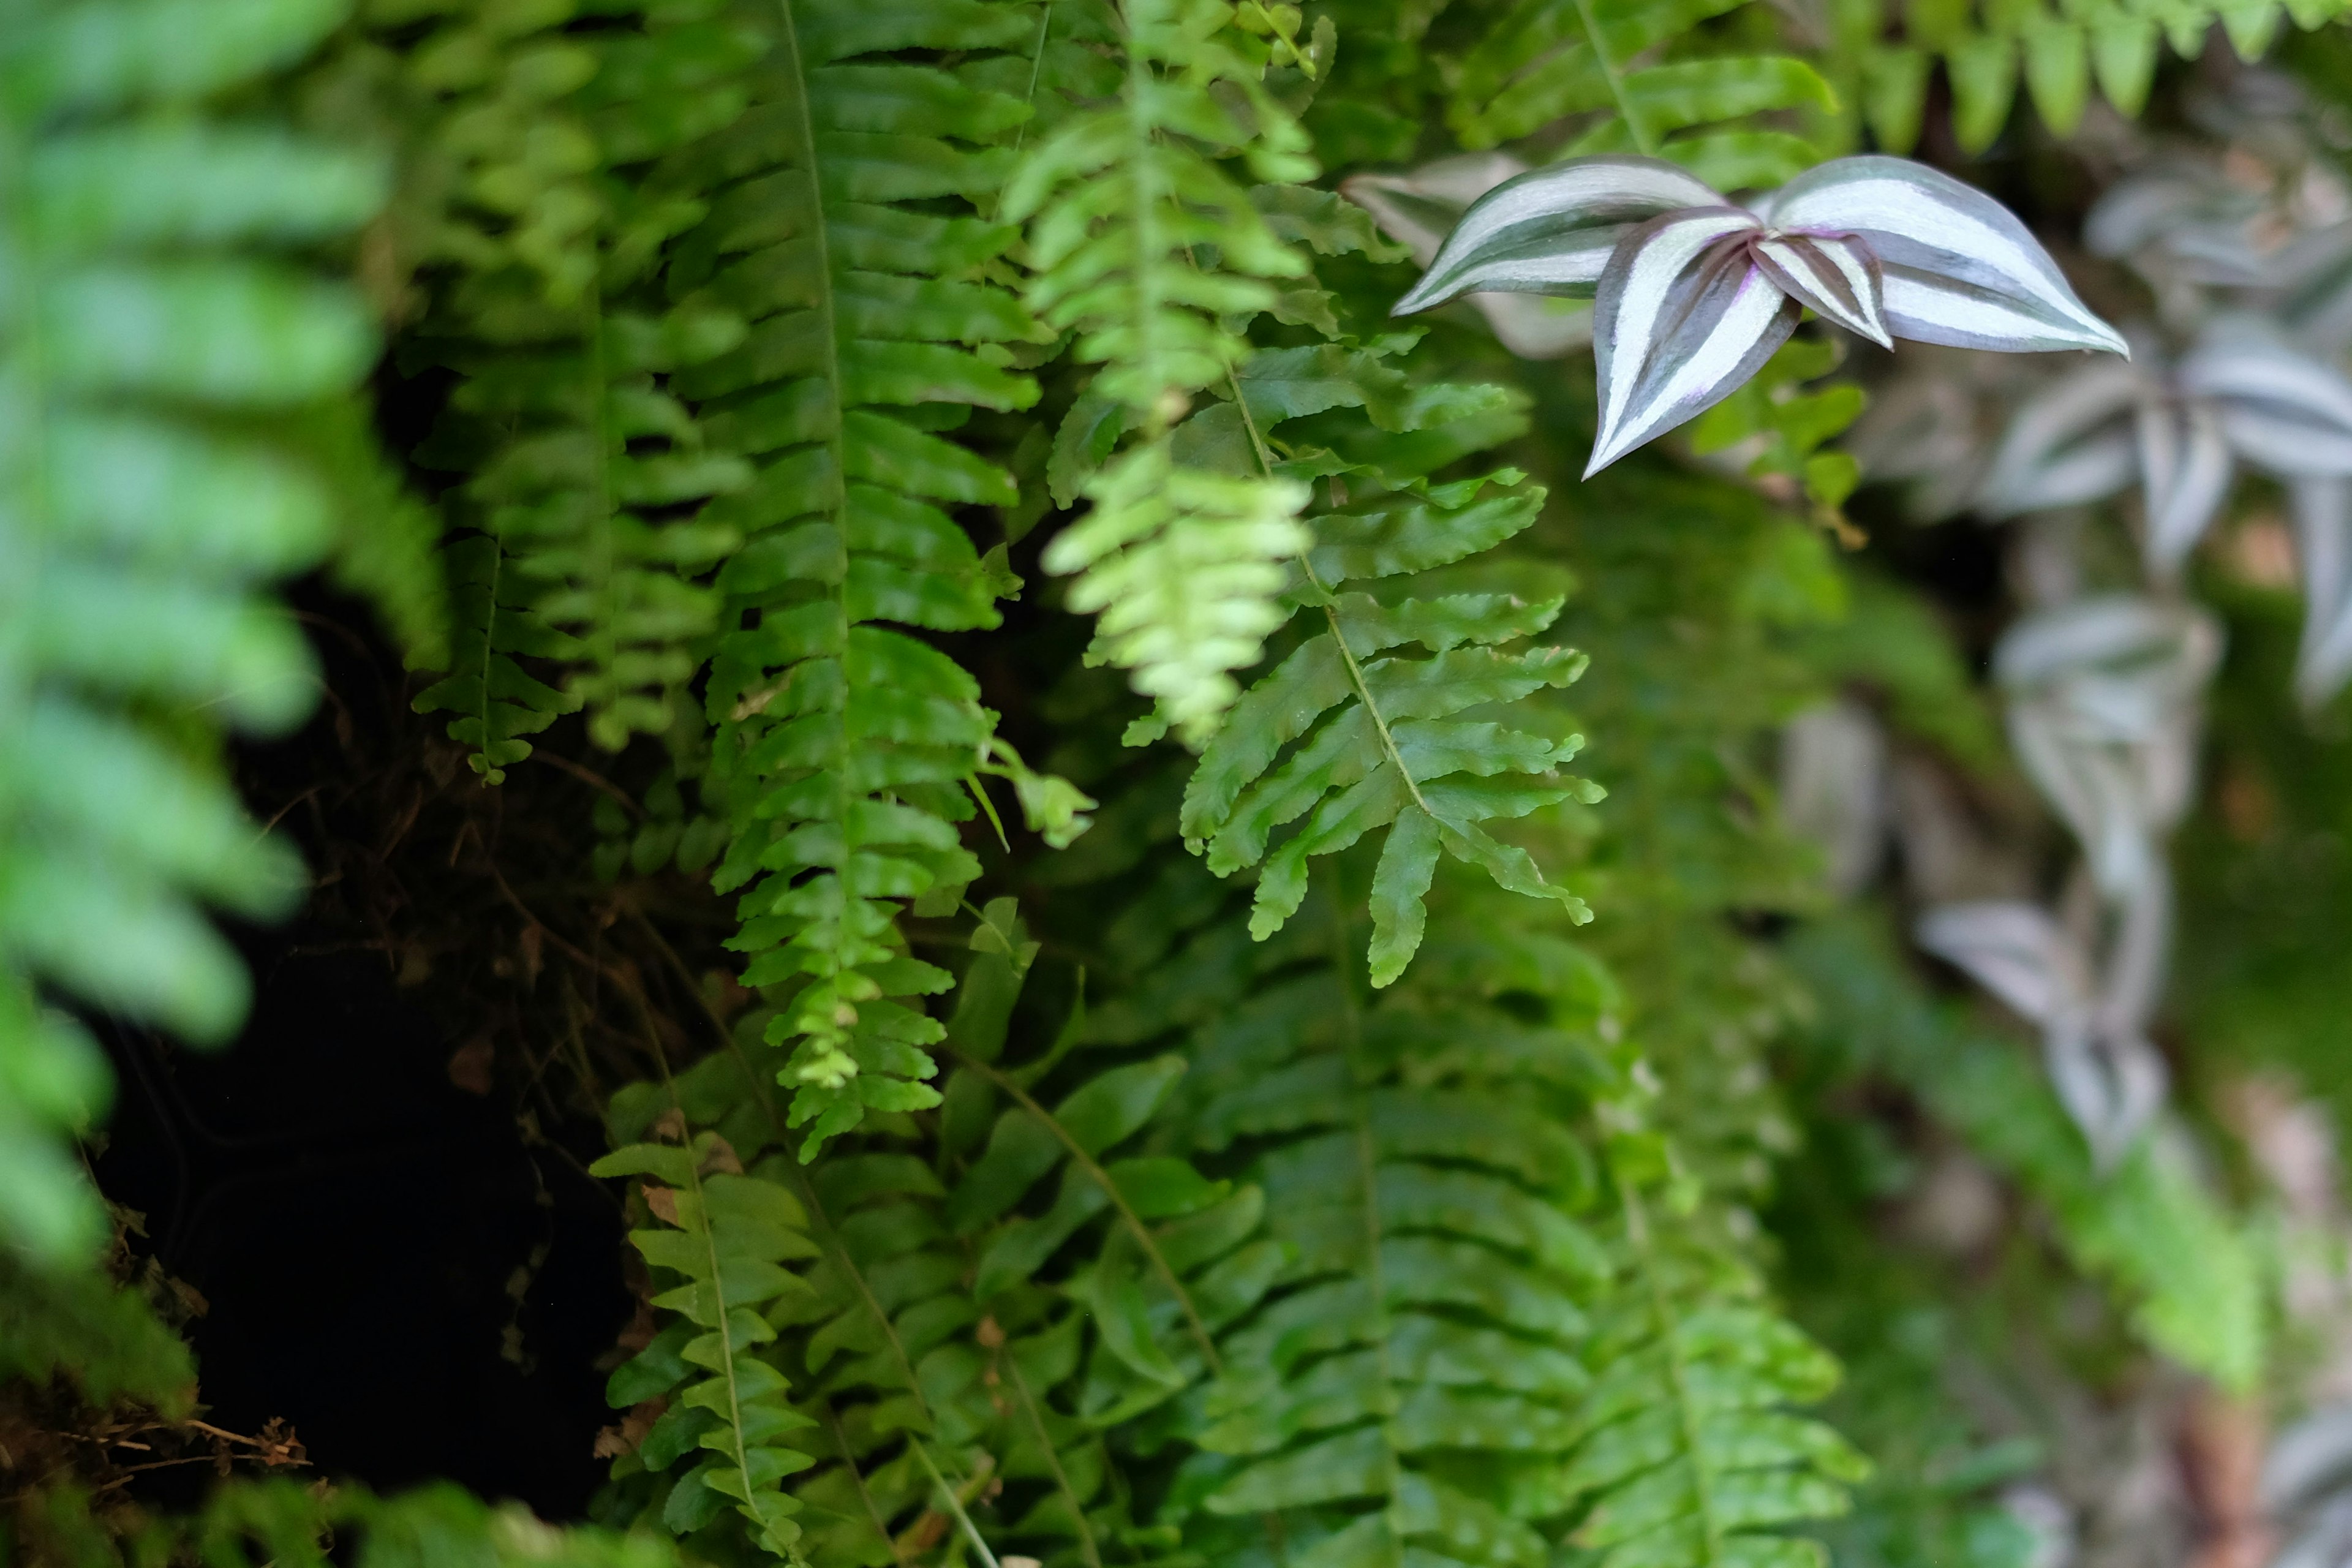
How can I tell if my plant is root-bound?

As a general rule, if you haven't repotted your plant in more than 2 growing seasons, it is probably ready to be transplanted into a larger pot; this process is known as "up-potting." However, there are plenty of houseplant species that prefer to be slightly pot-bound (such as snake plants, ficuses, aloe vera, and others), so get to know your plants! Over time, you will become familiar with their typical growth rate and habit, and will be more attuned to signs of discomfort.
Until you're comfortable diagnosing your plants based on their growth, however, there are other ways to get a sense of when they might need a little bit more room.
- Check the drainage holes in the pot. If roots are pushing through the drainage hole, especially if they seem crowded around it, that's a definite sign of cramped roots.
- How does the newest growth look? If the most recent growth on your plant appears stunted (e.g. smaller than usual, misshapen, or deformed), this could be a sign that your plant has outgrown its container.
- Has the plant ceased to grow, or is it growing far more slowly than usual? We can think of plants as having two kinds of growth: growth you can see, and growth that you can't. Roots often grow before foliage, as the plant grows new leaves and stems based on how well it's anchored in its growing medium and container. If a plant has grown all the roots it can in the space it's confined to, it will eventually cease to produce new foliage as well.
- Is it flowering unseasonably? Some plants, like snake plants and zz plants, prefer to be root bound, because it enables their rhizomes to use one another for support. However, even plants that prefer a tighter squeeze in their pots will eventually give signs that they need more room. Snake plants will produce blooms to indicate stress when they have surpassed their comfortable limit in their pot, for example.
Is there a "correct" time of year to repot my houseplants?
Even though indoor plants don't go through the dramatic seasonal changes that outdoor plants do, especially in our climate zone, tropical plants do still have growing seasons and periods of dormancy. These periods are seasonally aligned, and every species has different ways of undergoing seasonal changes. Some plants begin their "growing season" based on stable nighttime temperatures; others respond to hours of sunlight in a day. Plants are intelligent, and respond to changes in their environments -- sometimes very drastically!
In general, however, it's safe to assume that once the days are getting longer and warmer, plants will naturally move into a routine of stable, constant growth, as long as they're receiving adequate light and moisture. In the northern hemisphere, that means sometime around late February or early March, when springtime is around the corner, is the best time to consider repotting your houseplants.
When plants sense that spring is near (via longer daylight hours and warmer temperatures), they begin to push forward new growth in order to take in more sunlight. The best thing you can do for your plants in order to facilitate abundant, healthy new growth is to give them some fresh potting mix and fertilizer just before this spring push begins.

So, is there an "incorrect" time?
If a plant is repotted at the end of the growing season, it won't be as vigorous in producing roots. If you up-potted a plant from a 5" container to a 6" container, for example, there is now extra soil resting around the root ball, retaining moisture every time the plant is watered. This wet medium against your plant's dormant roots can cause root rot, ultimately stunting your plant, which can have negative effects that last for the entire coming season, and possibly even longer.
Think of it this way: at the end of the growing season, your plant has used all of the stored energy it was getting from the long, warm, sunny days of spring and summer. It often will not have the energy to fill out its new container with roots, and will have to spend valuable conserved energy adapting to this drastic change instead of conserving for the spring flush of growth.
One top tip from Claire, the greenhouse manager of the Dunlap branch, is to make sure it's actually time to repot your plant. Transplanting too often will stress out your plant, leading to unhealthy growth habits and stunted foliage. Ideally, you wouldn't repot a plant more than once in a single growing season. We get it, though... Sometimes you find a new pot or container that's just too perfect to pass up. Repotting one extra time won't do your plant in; but make sure you plan accordingly for the corresponding changes in growth in the coming season!
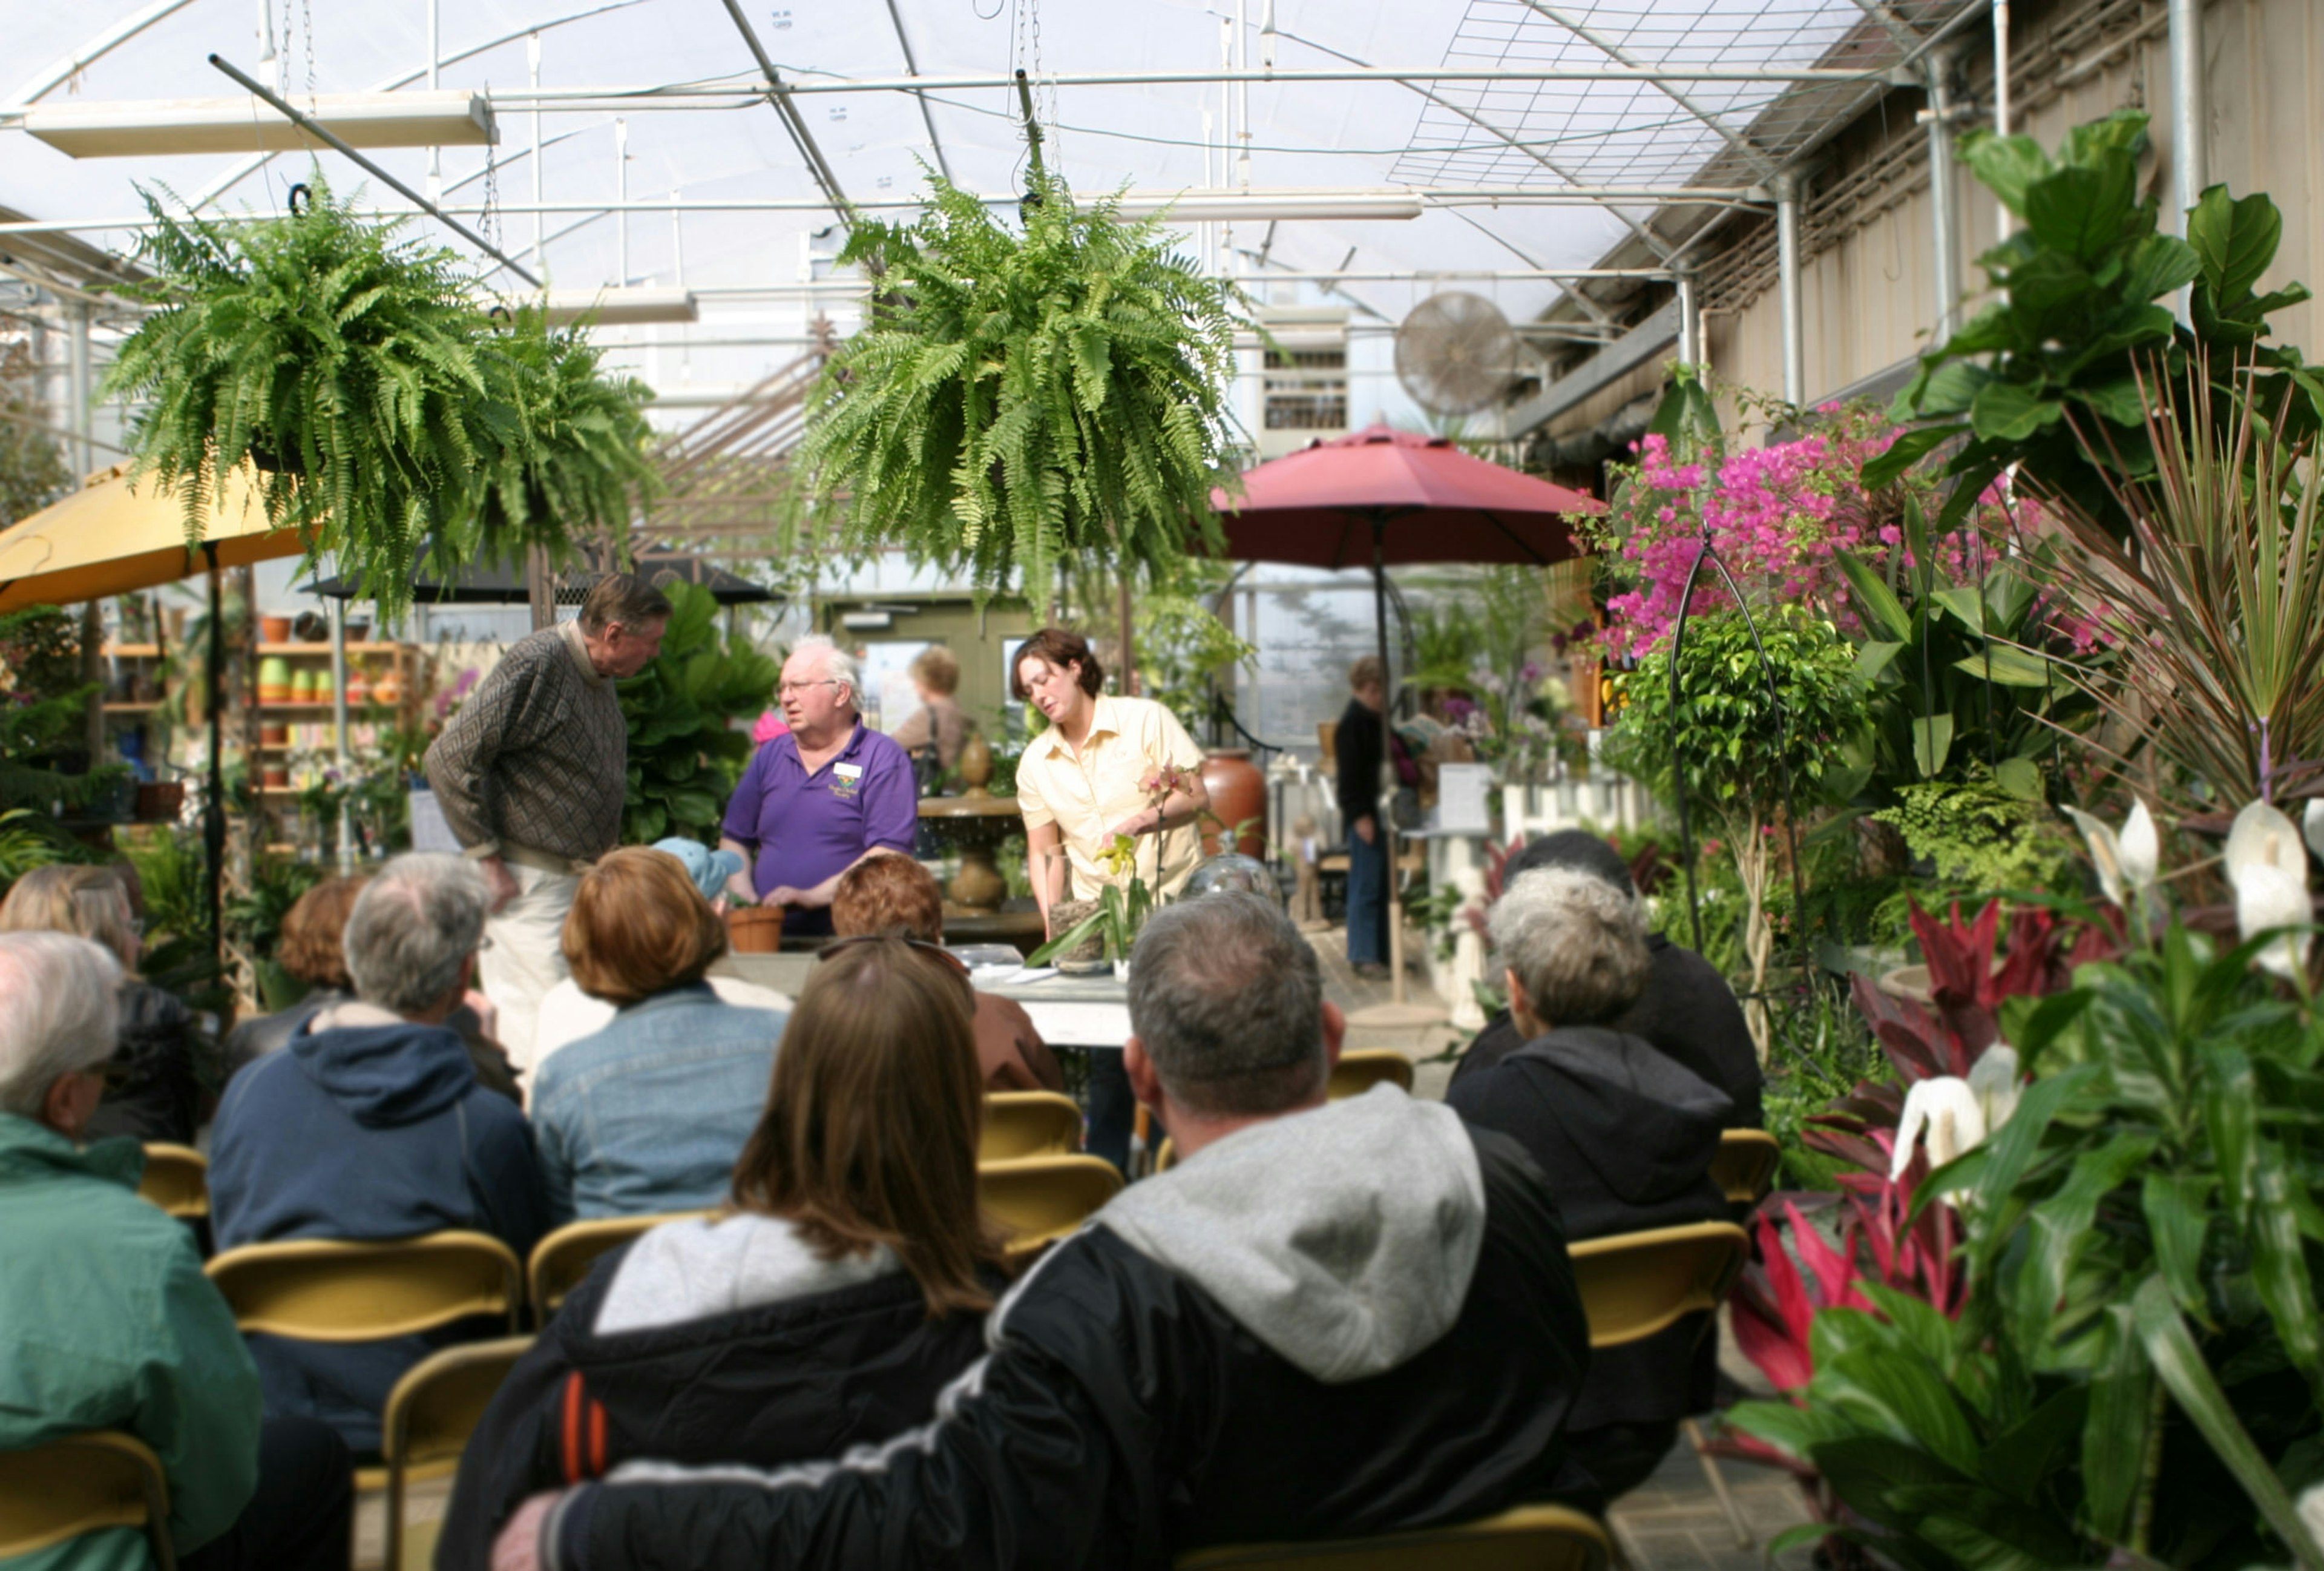
How to re-pot your plant: Top tips from Green View staff!

- Give your plant a good drink the day before you intend to re-pot. If you want to do it same-day, try and allow at least a few hours between watering and repotting. Not only does this make the roots more flexible and resilient to being untangled and situated in a new container, but it also allows the medium time to soften.
- Choose a pot that's not too much larger than the current container. As a general rule, you don't want to increase the pot size by more than 1-1.5", based on the diameter of the current pot. This way, the plant can keep its upright balance, and there won't be excessive wet soil around the rootball, protecting your plant from root rot.
- Via Claire: Choose the right soil mix for your plant! Different species have different preferences, many of them intuitive: philodendrons and orchid prefer a chunky mix to anchor their roots to; cacti and succulents like well-draining, sandy soils that allow water to pass easily through. Keep in mind that your soil composition has a direct relationship with how frequently plants will need watered! Stay tuned for a blog post covering soil mixing and other basic potting medium questions. Also, consider fertilizing while repotting. Apply a granular, slow-release fertilizer by incorporating it into your soil blend around the entire root ball, versus sprinkling it on top of your medium. Besides helping disperse the fertilizer and ensuring even feeding, this will also prevent fertilizer buildup on the top layer of soil, which can prevent water from penetrating the medium. If you prefer a liquid fertilizer, see step 9.
- Set up your workspace beforehand. If working indoors, spread out some newspaper or an old sheet to minimize messes. Have your new container, soil mix, trowel, and other tools ready to go.
- Prepare your new container. Choose a pot with drainage holes (or acquire a nice plastic nursery container to use inside of a decorative cache pot). Tamp down some fresh soil into the bottom of the container, estimating how much will be necessary so that the root ball rests about 1.5-2" below the top rim of your new pot. If possible, press moist, fresh potting mix into the sides of the container as well. This can be awkward to accomplish once the root ball has been set inside, and you don't want big gaps or holes around the root ball.
- Take care when removing your plant from its existing container, especially if it's severely pot-bound. You want to tease the roots out of their confined space, while minimizing root breakage as much as possible. If your roots have begun to circle the container, you may need to slit them with a sharp blade or very clean, sharp shears in order to encourage outward growth in the new container.
- Set the root ball in your new container and, while rotating the pot, press the tips of the roots into the few inches of medium in your prepared container. This will encourage outward root growth, which will anchor your plant.
- Fill the sides of the pot using a small container, such as a dedicated measuring cup or small nursery pot. Continue rotating the pot while adding soil, a little at a time, and using your fingers to press it in around the root ball. Be gentle, but firm. Finally, add a layer of soil to the top of the pot, allowing around 1" of room below the rim for watering.
- Water your newly potted plant by resting it in a dish and bottom-watering. This will help disperse the water evenly so you don't disturb the fresh soil. As the soil begins to harden over time, watering from the top will have less of a negative effect. If you use a liquid fertilizer, this is a great time to give your plant a boost! Simply mix an appropriate amount of fertilizer into the water and mark it on your calendar as a feeding day.
